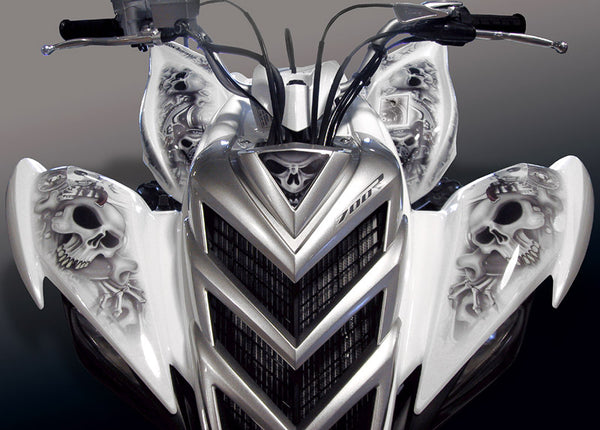
Graphics Kit Installation Instructions:
Notes:
- Read these instructions all the way through before installation.
- For best results, install in a 60°-100° environment.
- Be patient, take your time and plan on spending a few hours installing your new graphics kit.
- After installation avoid gas spillage when refueling as it will seep under the decals and dissolve the adhesive.
Instructions:
1. Remove all factory decals from vehicle.
2. Using Methyl Ethyl Ketone, clean your plastic parts and remove any glue that may be left from factory decal removal. if available, (DO NOT leave M.E.K. soaked rag on plastic for too long, and avoid ANY contact to “hard plastics” such as tail-lights & headlights...it will cause damage). If MEK is unavailable you can use strong rubbing alcohol to clean the plastics. If there are any deep scratches with burs that extrude from the surface, try shaving them as flush as possible with a razor blade.
3. Get out your blow dryer and extension cord...The heat from the blow dryer will allow the decal pieces to be more pliable and easier to manipulate as well as dry the moisture from the spray bottle.
4. Before removing backing paper from the decals, hold each piece up to your vehicle to get an idea of how they will line up.
5. Spray down area where the first decal piece will be placed with a spray bottle of soapy water (approximately 6 drops of liquid dish soap in 24 oz. of water). Pick an easy piece to start with one of the smaller, more flat pieces. Gradually apply the graphics piece starting at one end. On larger pieces start from the center and work your way outward. Pay special attention to lining decals up properly to your plastic’s shape and to adjacent artwork.
6. Use your fingers, a soft cloth and/or a squeegee to massage out kinks and bubbles, take your time! If you need to pull the whole piece back up and start over, that's okay just try to keep your fingers off the edges of the glue side.
7. On some of the more contoured, difficult areas use the hair dryer to help in stretching the vinyl. The heat will also help to get the vinyl to adhere quicker by drying the moisture from the spray bottle.
8. When finished keep checking for kinks and bubbles that may re-appear for the next 15 minutes or so, until adhesive begins to cure. If you can’t rub the bubbles out, you can try using a sewing needle to remove them.
9. Then, LET IT DRY ON IT'S OWN FOR 48 HOURS!!
You can also download a PDF of the above instructions here.
WARNINGFactory warning labels display very important safety information that could prevent serious injuries or death. Invision Artworks DOES NOT recommend covering or removing ANY factory warning labels. Therefore Invision Artworks will not be held responsible or liable in any way for any injuries or death, directly or indirectly resulting from the covering or removal of factory warning labels.
Instructions
Video Instructions
Check out our installation videos - Click Here